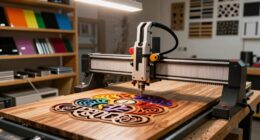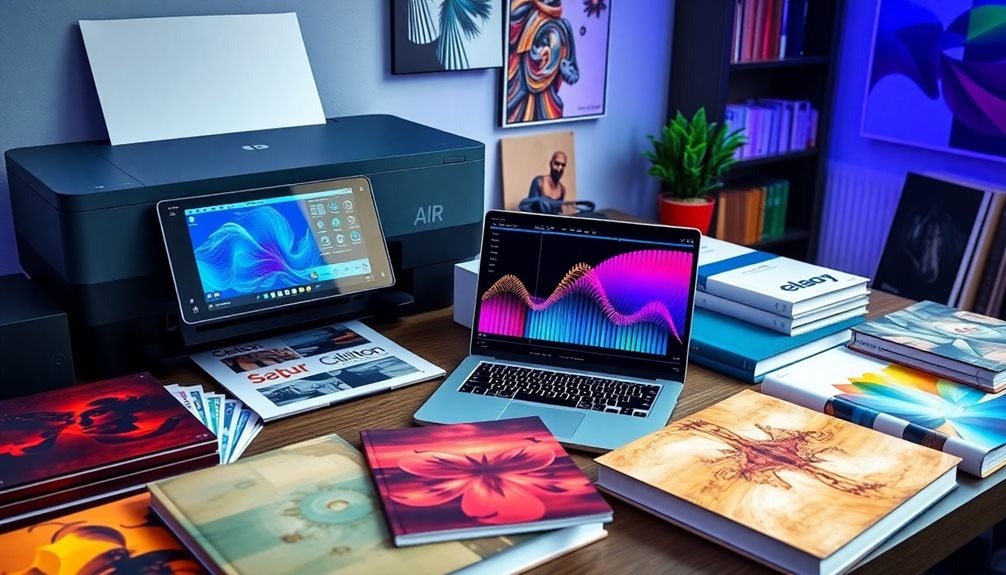

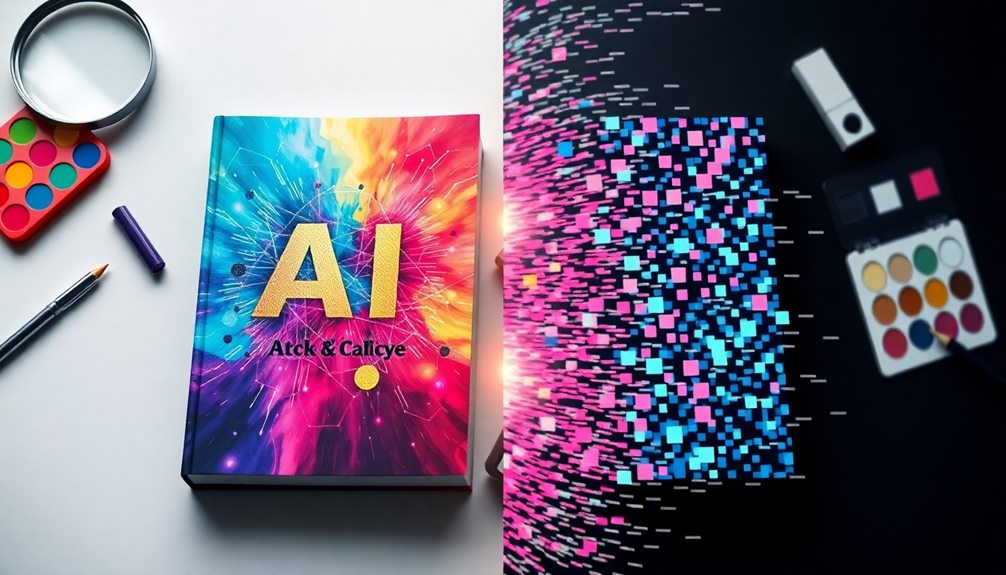
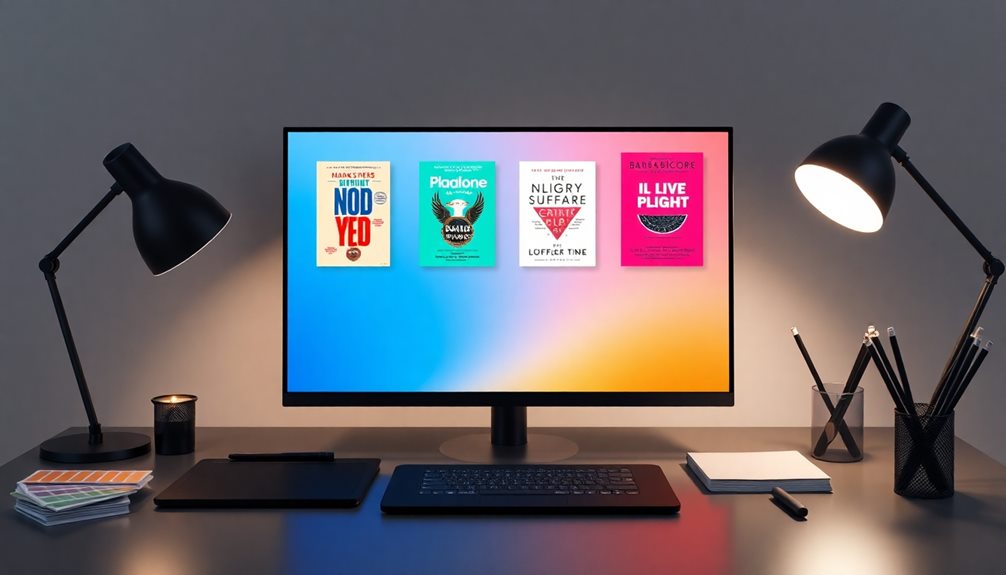
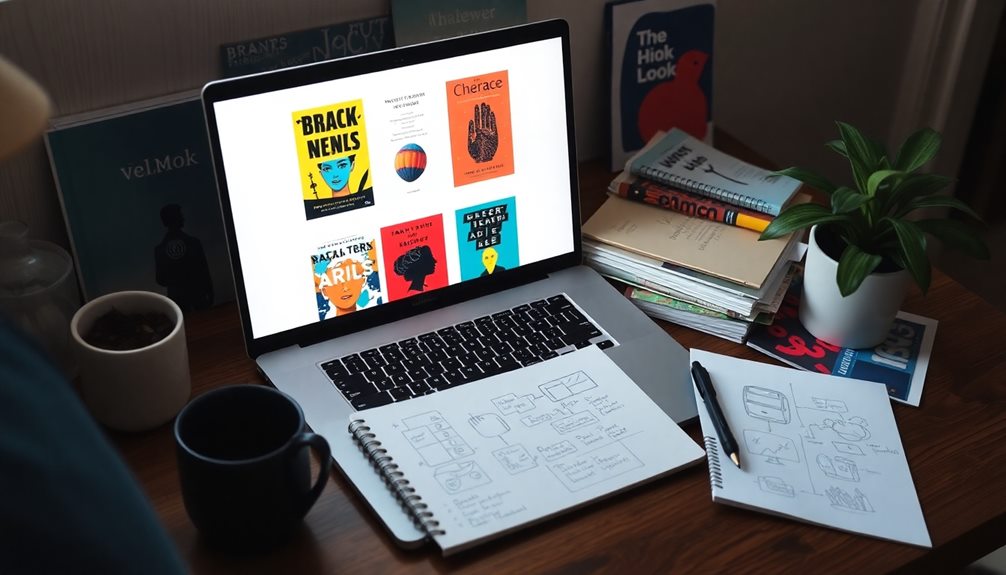
To optimize KDP print quality using AI tools, you need to focus on DPI requirements and effective image upscaling. Aim for images with a minimum of 300 DPI to avoid blurry prints. AI-generated images often default to 72 DPI, so use tools like Bigjpg.com to upscale them, ideally by four times. Consider converting pixel images to vector format, which maintains quality during size adjustments. Utilizing design software like Canva will help guarantee your images meet KDP specifications. With the right techniques, you can enhance your print quality and keep your customers satisfied, and there's even more to discover about optimizing your designs!
Key Takeaways
- Ensure all images meet the minimum requirement of 300 DPI to avoid blurriness in prints.
- Utilize upscaling tools like Bigjpg.com to enhance the resolution of AI-generated images.
- Convert pixel images to vector format for infinite scalability without quality loss.
- Use design software like Canva for precise resizing and exporting of images to KDP specifications.
- Leverage community resources, such as tutorials and forums, for tips on optimizing print quality and image standards.

Elgato Prompter, Teleprompter with Built-in Screen
Built-in display, Drag-and-drop: No extra tablets or smartphone screens required; Move any window or app onto Prompter’s display,...
As an affiliate, we earn on qualifying purchases.
Understanding DPI Requirements
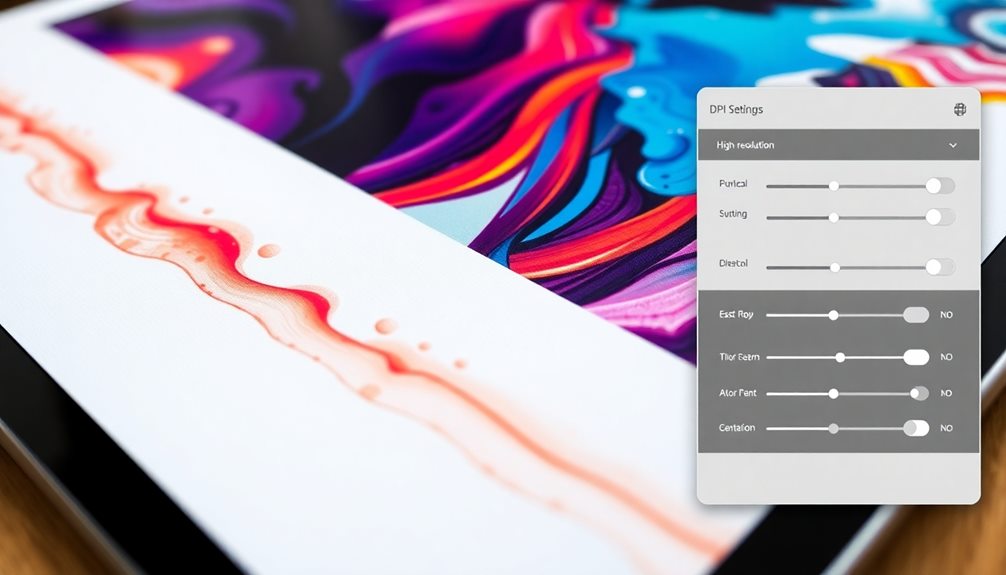
When it comes to print quality, understanding DPI requirements is important. DPI, or dots per inch, defines how sharp and clear your printed images will look. For print-on-demand products, you need a minimum of 300 DPI to guarantee high-quality outputs. Many AI-generated images come with a default of only 72 DPI, which is inadequate for your needs and often results in blurry prints.
Proper planning can help avoid costly errors and maximize benefits, similar to how maximizing IRA contributions can notably impact your financial future.
To achieve the best print quality, you'll have to upscale low-DPI images or convert them into vector format. Vector images can be resized without losing clarity, making them ideal for print applications. It's also essential to grasp the relationship between pixel dimensions and DPI. For instance, a 960×1248 pixel image at 72 DPI can only print at about 13.33×17.33 inches, which isn't suitable for most projects.
Before submitting your work on platforms like KDP, double-check your images' DPI. Images below the 300 DPI threshold may face rejection, so using tools to verify and adjust DPI is critical.

NEEWER 2 in 1 Teleprompter 11 Inch with Monitor for Windows MacOS, Supports Screen Mirroring, Portable Prompter for Camera Mobile Phone Webcam for YouTube Twitch Live Streaming Conference, X11
Using the provided USB-C to USB-C cable, you can connect the monitor straight to your computer if it...
As an affiliate, we earn on qualifying purchases.
Challenges With Ai-Generated Images
When you use AI-generated images, you'll often face low resolution issues that can hurt your print quality.
With a DPI of only 72, these images fall short of the 300 DPI required for clear and professional results. This limitation can be particularly challenging in the context of impact on customer experience, as high-quality visuals are essential for engaging your audience.
Understanding this challenge is vital to ensuring your KDP uploads meet customer expectations and avoid rejection.
Low Resolution Issues
Low resolution often plagues AI-generated images, posing significant challenges for print quality. Most AI images come in at a mere 72 DPI, which falls short of the 300 DPI needed for crisp, clear prints. This low resolution can lead to blurry results that don't meet the standards set by platforms like KDP.
When you try to print a 960×1248 pixel image at 72 DPI, you're fundamentally looking at a 13.33×17.33 inch print that lacks detail and vibrancy. The significance of high-resolution images is paramount in fields like the tea industry, where health benefits of tea are often highlighted through appealing visuals.
To combat these low resolution issues, you need to evaluate upscaling techniques. Upscaling images effectively enhances their resolution while preserving as much detail as possible. This process is vital for transforming your AI-generated images into high-quality prints that capture attention and meet customer expectations.
Understanding the significance of high-resolution images can make a considerable difference in your print-on-demand products. Investing time in ensuring your images are suitable for print not only boosts your chances of acceptance by KDP but also elevates the overall quality and appeal of your work.
DPI Requirements Explained
DPI requirements are essential for anyone looking to produce high-quality prints, especially when dealing with AI-generated images. Many of these images come in at a resolution of only 72 DPI, which is notably below the minimum of 300 DPI needed for print quality on platforms like KDP.
When you print a 960×1248 pixel image at 72 DPI, it may appear as large as 13.33×17.33 inches, but you'll likely notice a loss of clarity and detail.
To avoid issues, you need to upscale your images to meet the 300 DPI requirement. This is where tools like Bigjpg.com come into play. By using Bigjpg, you can effectively enhance the resolution of your photographs, ensuring that they meet the necessary pixels per inch standards for print.
Low-resolution images can lead to rejections during the submission process, making it vital to understand these DPI requirements explained. Higher DPI means sharper, crisper images, which not only boosts customer satisfaction but also helps you avoid print quality problems.

NEEWER Basics X12B Aluminum Alloy Teleprompter 12" for iPad Tablet DSLR Camera, Bluetooth, No Assembly, Remote & App Control, Compatible with iOS Android, Black, for Streaming
【Introducing NEEWER BASICS】 Simple and practical, NEEWER BASICS is an economical product line that focuses on essential functions...
As an affiliate, we earn on qualifying purchases.
Effective Upscaling Techniques

To achieve high-quality images for your KDP projects, effective upscaling techniques are essential. Start by upscaling your photographs to at least four times their original size, guaranteeing they meet the minimum resolution of 300 DPI for print quality. Websites like Bigjpg.com are fantastic for this, as they specialize in upscaling photographs while maintaining detail and vibrancy.
However, keep in mind that the free version has limitations in processing speed and image size. If you're working with larger batches, you might consider their paid options for quicker results. After you've upscaled, use editing software like Adobe Photoshop or Canva to resize your images to fit KDP's print dimensions.
Lastly, always check the updated DPI of your images post-upscaling to confirm they meet the minimum requirement. This will help you avoid rejection during the KDP submission process.
| Technique | Tools/Software | Notes |
|---|---|---|
| Upscaling | Bigjpg.com | Free version has limitations |
| Resizing | Adobe Photoshop | Adjust to KDP dimensions |
| DPI Check | Canva or Photoshop | Guarantee minimum 300 DPI |

9.3" Teleprompter for Phone & Camera, 70/30 Beam Splitter Glass
HD Optical Glass: Perfect Balance of Reflection & Transparency Featuring premium 70/30 beam-splitter coated glass, this teleprompter delivers...
As an affiliate, we earn on qualifying purchases.
Benefits of Vector Images

While many creators rely on raster images for their projects, vector images offer significant advantages that can elevate your print quality. These graphics are composed of geometric shapes, allowing them to be scaled indefinitely without losing quality. This makes them ideal for high-resolution print products where you want everything to look sharp and clear.
Here are some key benefits of using vector images:
- Scalability: Vector images can be resized to any maximum size without pixelation.
- Quality Maintenance: They maintain sharpness and clarity, ensuring professional-quality prints.
- Easy Manipulation: You can easily alter shapes and lines without degrading the image.
- Enhanced Customer Satisfaction: Crisp and vibrant results lead to better perception of quality in printed materials.
- Improved Submission Success: Converting pixel-based images to vector format can reduce the risk of rejection for print-on-demand submissions.
Essential Design Tools
When you're working on print projects, having the right design tools is vital for achieving outstanding quality.
Image upscaling techniques and vectorization can greatly enhance your visuals, ensuring they meet the high standards required for print.
Let's explore how these essential tools can elevate your designs and prevent print rejections.
Image Upscaling Techniques
Effective image upscaling techniques are crucial for achieving high-quality prints, transforming standard AI-generated images from a mere 72 DPI to the required 300 DPI for sharp and vibrant results.
When you're preparing your images for print, focusing on the right tools and methods can make all the difference.
Here are some key strategies to take into account:
- Use platforms like Bigjpg.com for upscaling images, which enhance resolution while preserving detail.
- Increase the image size by at least four times the original dimensions to guarantee peak clarity.
- Explore vector editing software for illustrations, as they allow for unlimited scaling without quality loss.
- Combine upscaled images with design tools like Canva to finalize your projects and meet print specifications.
- Always check the final output against print quality standards to verify your images look their best.
Vectorization Benefits Explained
How can vectorization enhance your design projects? Vectorization benefits are significant, especially when it comes to print quality. By converting raster images into vector formats, you guarantee that your designs maintain their clarity and sharpness regardless of size. This is vital for KDP products, where high-quality output is essential.
Using software like Adobe Illustrator or tools like Vectorizer.ai, you can convert pixel-based images into scalable vector graphics. Unlike pixel images, which can become blurry when enlarged, vector images utilize mathematical equations to represent shapes, allowing for infinite enlargement without degradation.
Here's a quick overview of vectorization benefits:
| Benefit | Description |
|---|---|
| Resolution Independence | Scale images to any size without losing quality |
| Clarity in Print | Maintain sharpness, reducing rejection risks |
| Professional Results | Enhance visual appeal for print-on-demand products |
| Infinite Scalability | Resize without pixelation issues |
Print-on-Demand Fundamentals
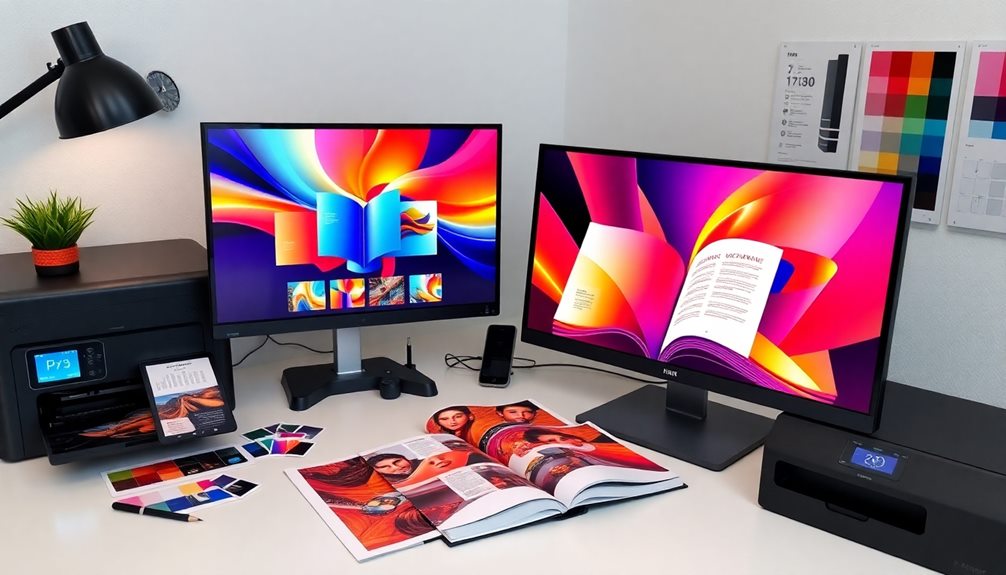
Print-on-demand (POD) revolutionizes the way products are produced and sold, allowing you to create items only after a customer places an order. This method considerably reduces inventory costs and waste, making it an appealing option for authors and creators.
However, to guarantee your products meet quality standards, you need to pay attention to image resolution and file types.
Here are some key points to keep in mind:
- Aim for a minimum of 300 DPI to guarantee sharp, clear prints.
- Be cautious with AI-generated images, which often default to 72 DPI.
- Using vector images can enhance print quality since they retain clarity regardless of size.
- When uploading books to Amazon, high-resolution images help avoid rejections.
- Poor-quality images can lead to unsatisfactory customer experiences.
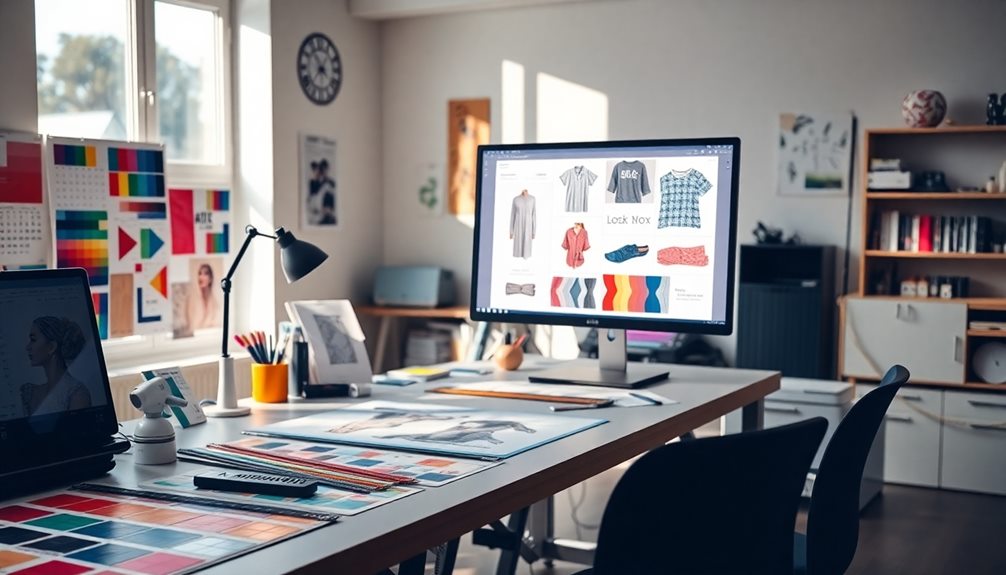
Optimizing Image Quality
Image quality plays a significant role in the success of your print-on-demand projects. To guarantee your book covers and interiors look sharp and professional, it's essential to use images with a resolution of at least 300 dots per inch (DPI).
AI-generated images often come at just 72 DPI, which isn't sufficient for print. To enhance this, you can use upscaling techniques through tools like Bigjpg.com. This platform effectively improves your image resolution while preserving detail and vibrancy.
Another effective method is converting pixel-based images to vector format using tools like Vectorizer.ai. Vector images maintain sharpness at any size, making them ideal for illustrations in your print products.
Once you've enhanced your images, resize them to meet the specific print dimensions at 300 DPI. This guarantees clarity and helps prevent rejection during the submission process.
Additionally, utilizing design tools like Canva allows you to manage both original and upscaled images seamlessly. You can make necessary adjustments to achieve professional-quality outputs, ensuring that your book covers and interiors stand out in the competitive print-on-demand market.
Community Resources for Beginners
Maneuvering the world of self-publishing can feel overwhelming, but community resources can be a game-changer for beginners. Engaging with fellow self-publishers through community forums and groups not only provides support but also valuable insights that can help you tackle challenges head-on.
Here are some fantastic resources to take into account:
- YouTube Tutorials: Find beginner-friendly playlists covering the entire print-on-demand process, including image requirements for KDP submissions.
- Blogs and Webinars: Explore detailed explanations on optimizing image quality and understanding DPI requirements for successful KDP uploads.
- Community Forums: Participate in discussions where you can share experiences and learn from others' mistakes, accelerating your learning curve.
- Free Tools: Discover recommendations for tools like Bigjpg.com for upscaling images and Vectorizer.ai for vectorization to enhance your image quality.
- Networking Opportunities: Connect with experienced self-publishers who can offer insights and support as you navigate your journey.
Finalizing Your Print Designs
As you engage with community resources and gather insights, it's time to focus on finalizing your print designs. To guarantee your designs meet KDP's quality requirements, make sure they're created at a minimum resolution of 300 DPI. This helps you avoid blurry prints.
When working with AI-generated images, consider using Bigjpg.com to upscale them—ideally, increase their size by four times for the best resolution before finalizing your designs.
Incorporating vector images can also be beneficial, as they maintain their quality regardless of size adjustments. This makes them perfect for illustrations in your print designs.
If you're using design software like Canva, double-check that your final images are resized to the appropriate print dimensions while retaining the necessary DPI.
Lastly, remember to export your completed designs in formats suitable for printing. This is essential to guarantee they adhere to KDP's specifications and prevent rejection during the submission process.
Enhancing Customer Satisfaction
Delivering high-quality prints is essential for enhancing customer satisfaction in KDP publishing. When you guarantee that your images meet high standards, you not only improve the aesthetic appeal of your work but also create a positive experience for your readers.
Here are some key strategies to evaluate:
- Use high-resolution images with a minimum DPI of 300 to avoid blurry prints.
- Utilize upscaling tools like Bigjpg.com to enhance AI-generated images for better vibrancy.
- Incorporate vector images from tools like vectorizer.ai to maintain quality at any size.
- Employ design tools like Canva for final adjustments, guaranteeing clarity and detail in your prints.
- Provide tutorials and resources on image optimization techniques to empower authors.
Frequently Asked Questions
Is AI Content Allowed on KDP?
Yes, AI content is allowed on KDP, but you've gotta guarantee it meets their guidelines. Always review and edit the material to maintain quality and originality, keeping in mind copyright and trademark rights.
Can You Sell Ai-Generated Ebooks on Amazon?
Yes, you can sell AI-generated eBooks on Amazon, provided it follows guidelines, maintains quality, and respects copyright. Guarantee your content's original, images meet standards, and focus on enhancing both text and visuals for success.
Conclusion
As you wrap up your print designs, remember that optimizing quality is like polishing a gem—every detail matters. By understanding DPI, leveraging AI tools, and embracing vector images, you're setting the stage for stunning visuals that leap off the page. With the right design tools and community support, you can elevate your work and delight your customers. So, immerse yourself and let your creativity shine; your prints deserve to dazzle!