
To master the low-light lens rule, you should focus on using lenses with wide apertures, like f/1.4 or lower, to let in more light. Adjust your camera settings by keeping ISO low and stabilizing your shots to prevent blur and grain. Position yourself near light sources and use practical lighting or reflectors for softer illumination. Want expert tips and real-world examples? Keep going to learn how you can improve your indoor content effortlessly.
Key Takeaways
- Use lenses with wide apertures (f/1.4 or lower) to maximize light intake in low-light indoor settings.
- Stabilize your camera with tripods or mounts to prevent motion blur during indoor shoots.
- Adjust camera ISO and shutter speed to balance brightness and noise for clearer images.
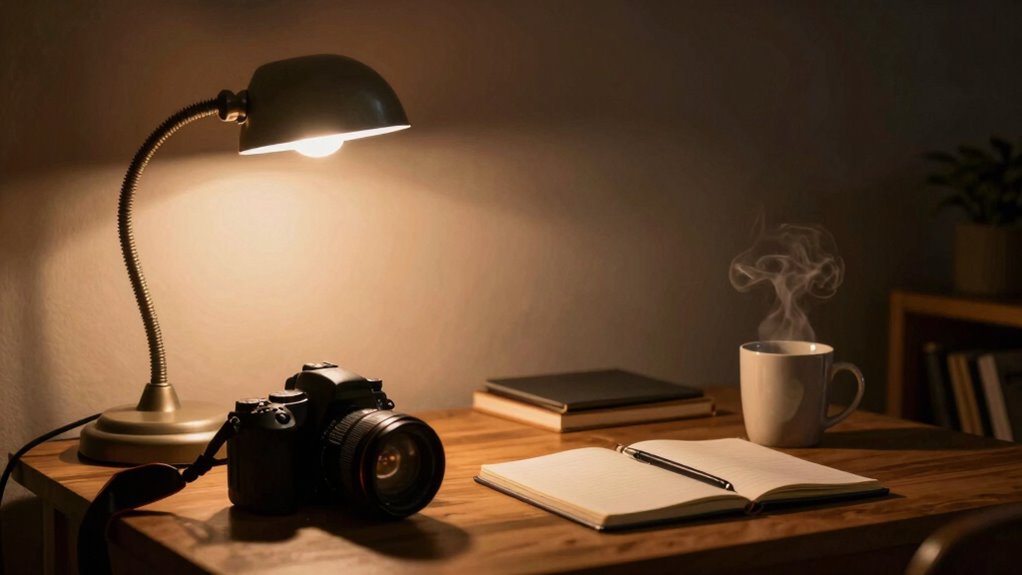
- Incorporate natural and practical lighting, like reflectors and lamps, to enhance illumination effectively.
- Reposition near windows or light sources to improve scene brightness and overall photo quality.
What Is the Low-Light Lens Rule and Why It Matters

Have you ever wondered why certain photos taken in low light turn out blurry or grainy? That’s where the Low-Light Lens Rule comes in. It emphasizes the importance of applying proper lighting techniques to improve your shots. Using the right lighting can reduce the need for excessive camera stabilization, which often causes blur when not managed properly. The rule advises you to choose lenses with wide apertures that let in more light, making your images clearer and sharper. Proper lighting and stabilization work together, helping you avoid graininess and motion blur. Additionally, understanding your household environment can help you optimize your lighting setup for better results. Being aware of camera settings like ISO and shutter speed can further enhance your indoor photography. Incorporating lighting techniques into your setup is also crucial for achieving consistent, high-quality images. Recognizing how Gold IRA markets operate can offer insights into strategic planning, much like adjusting camera settings for different shooting conditions.
How to Choose the Best Lens and Settings for Indoor Low-Light Content

To get great indoor low-light shots, you need to focus on choosing the right lens and settings. Adjust your aperture for more light, find the right ISO balance to avoid noise, and pick versatile lenses that handle different situations. These tips help you capture clear images even when lighting isn’t ideal. Exploring digital content formats can also inspire creative ways to enhance your low-light photography. Additionally, understanding bank SWIFT/BIC codes can be useful if you’re transferring funds for photography equipment or courses internationally.
Optimal Aperture Settings
When shooting indoors in low light, selecting the right aperture is critical for capturing clear and well-exposed images. A wider aperture (lower f-number) allows more light to reach your camera sensor, which is essential in dim environments. This is where aperture flexibility becomes necessary—you want a lens that offers a range of aperture settings to adapt to different conditions. Lens compatibility is also key; make sure your lens supports wide apertures without vignetting or softness. For indoor low-light content, prime lenses with wide maximum apertures (like f/1.4 or f/1.8) are ideal. They let in more light, helping you achieve sharp images with beautiful background blur. Adjust your aperture based on your scene to balance light intake and depth of field effectively.
ISO Balance Tips
Struggling to find the right ISO setting for indoor low-light photography? Focus on sensor sensitivity to brighten images without introducing excessive noise. Start with a low ISO, around 800 or 1600, to maintain image quality, then increase gradually if needed. Remember, adjusting ISO affects exposure balance—higher ISO makes your camera more sensitive but can reduce clarity. To avoid graininess, keep ISO as low as possible while still properly exposing your shot. Use your camera’s histogram to check exposure accuracy and ensure details aren’t lost in shadows or highlights. Always test different ISO settings in your environment to find the sweet spot between brightness and clarity. Balancing ISO with aperture and shutter speed gives you best possible results in challenging indoor lighting conditions. Additionally, understanding your camera’s dynamic range can help you capture more detail in both shadows and highlights for optimal image quality. Knowing how to manage contrast within your images can further enhance clarity and depth, especially in complex lighting scenarios.
Choosing Versatile Lenses
Choosing the right lens is essential for capturing sharp, well-exposed indoor low-light content, especially since lighting conditions can vary widely. A versatile lens with good aperture flexibility allows you to adapt quickly to changing environments and lighting setups. Look for lenses that offer a wide maximum aperture, such as f/1.4 or f/2.8, for better light intake. Additionally, lens versatility means you can switch between wide-angle and zoom settings without changing your gear. This flexibility keeps your workflow smooth and efficient. For example, understanding the cultural activities in your shooting environment can help you anticipate lighting conditions and adjust your lens choices accordingly. Being aware of lighting variability can further enhance your ability to select the most suitable lens for different scenarios.
Pro Tips for Applying the Low-Light Lens Rule in Your Videos and Photos
To make the most of the Low-Light Lens Rule, focus on optimizing your camera settings and shooting techniques. Start by adjusting your ISO and aperture to let in more light without sacrificing image quality. Use steady shooting techniques like a tripod to prevent blur. When it comes to lighting setups, position lights to enhance natural ambient light and reduce harsh shadows. Incorporate post processing techniques to brighten shadows and reduce noise, making your footage clearer. Keep these tips in mind:
Optimize low-light shots by adjusting ISO and aperture, stabilizing your camera, and enhancing lighting and post-processing techniques.
- Use wide apertures (f/1.8 or lower) for maximum light intake
- Stabilize your camera with tripods or mounts
- Experiment with different lighting setups for even illumination
- Shoot in RAW format for better editing flexibility
- Apply noise reduction during post processing
- Be mindful of indoor pollutants like microplastics in dust that can affect air quality and potentially impact your health while shooting indoors. Understanding indoor pollutants can help you take precautions and improve your environment for better filming conditions. Additionally, knowing about air quality can guide you in creating safer and more comfortable indoor spaces for your creative work. Recognizing the importance of humidity control can also help prevent problems like mold growth and equipment issues, ensuring a healthier environment for your shoots. Paying attention to ventilation can further improve air circulation and reduce the buildup of harmful particles indoors. These steps help you capture brighter, sharper indoor videos and photos.
Common Mistakes to Avoid When Shooting in Dim Indoor Light
Furthermore, understanding how camera settings interact with ambient lighting conditions is essential for achieving optimal results. Adjusting your exposure appropriately can make a significant difference in low-light scenarios, helping you capture clearer images without excessive noise or blur. Recognizing how low-light photography techniques influence image quality can also guide your adjustments for better outcomes.
How to Improve Your Indoor Content Quality Without Extra Equipment

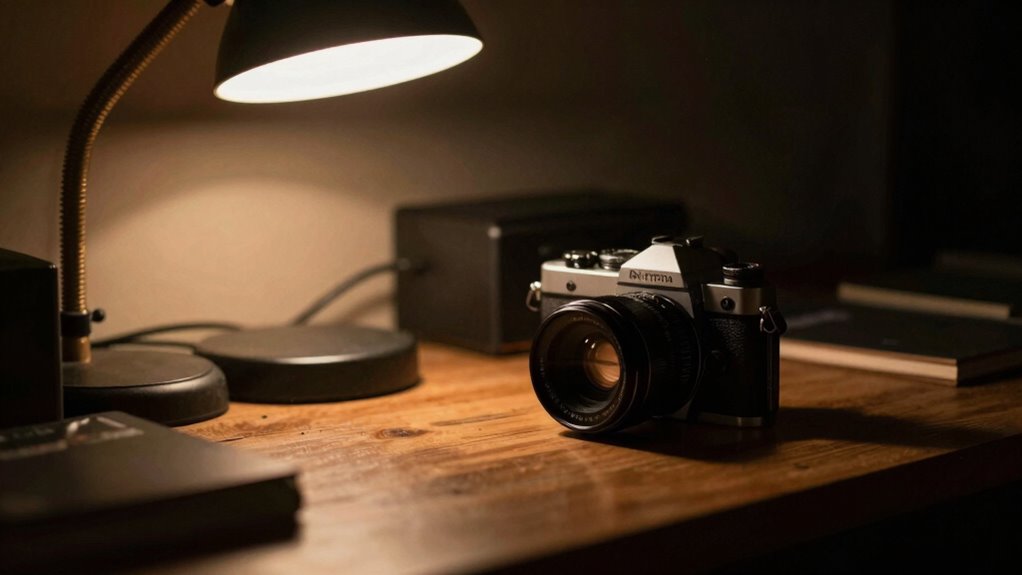
Even without extra gear, you can considerably boost your indoor content quality by mastering your existing environment. Focus on lighting techniques to maximize what you have—use natural light wisely, bounce light with reflectors, or reposition yourself for better illumination. Keep your camera stable; shaky footage reduces professionalism. Here are some tips:
- Use steady surfaces or DIY stabilizers to avoid camera shake
- Adjust your camera’s exposure settings to brighten low-light scenes
- Position yourself near windows or light sources for better clarity
- Incorporate practical lights like lamps for softer, controlled lighting
- Practice smooth, deliberate camera movements to enhance stability
- Understanding technology’s role in content creation can help you leverage affordable solutions to further enhance your setup. Additionally, exploring different lighting options can make a significant difference in overall video quality. Incorporating lighting techniques that utilize your existing environment can dramatically improve your visuals. Moreover, referencing innovative architectural solutions can inspire better spatial arrangements for optimal lighting.
These simple adjustments can dramatically improve your visuals, making your content look more polished without investing in new equipment.
Real-World Examples of Using the Low-Light Lens Rule Effectively

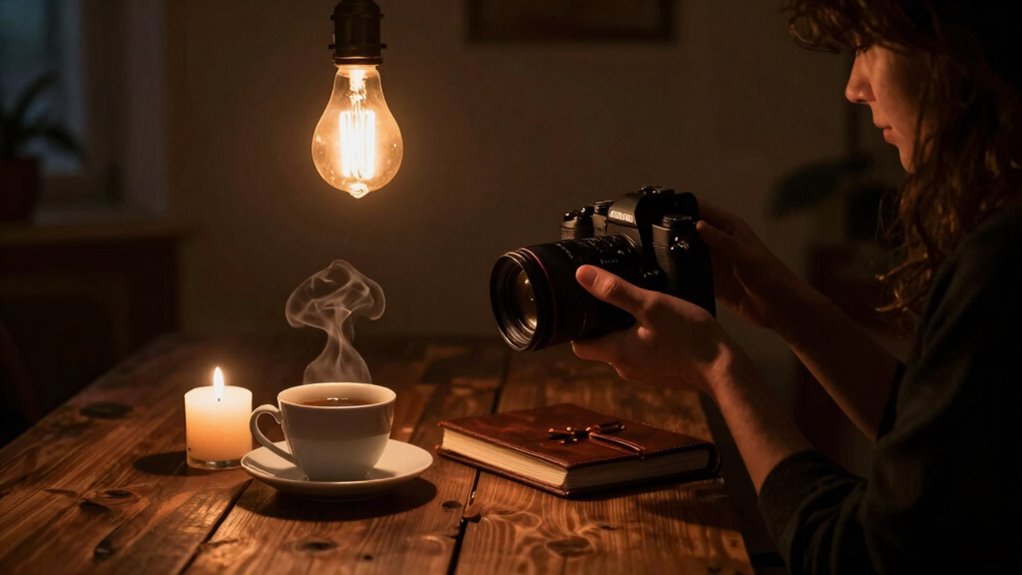
You can see the Low-Light Lens Rule in action with nighttime indoor portraits, where using a wide aperture helps capture sharp, well-lit images without extra equipment. It also shines during low-light event shots, ensuring you get clear photos despite dim surroundings. These real-world examples show how mastering this rule can considerably improve your low-light photography.
Nighttime Indoor Portraits
When capturing nighttime indoor portraits, using the Low-Light Lens Rule can make a significant difference in image quality. It helps you select the right lens and accessories to maximize light intake, even in dim settings. To enhance your results, consider:
- Using fast lenses with wide apertures for better light capture
- Incorporating lighting accessories like LED panels or diffusers for softer illumination
- Adjusting camera ergonomics to stabilize shots and prevent shake
- Choosing lenses with excellent autofocus performance in low light
- Utilizing scene modes or manual settings for precise control
These strategies ensure your portraits stay sharp and well-lit without sacrificing natural ambiance. Mastering the Low-Light Lens Rule with the right gear and accessories allows you to create stunning indoor nighttime portraits effortlessly.
Low-Light Event Shots
Capturing low-light event shots requires quick thinking and the right gear, and the Low-Light Lens Rule offers a practical guide for success. When shooting in variable lighting contrast, choose a lens with a wide aperture to gather more light without sacrificing sharpness. Pay attention to color temperature shifts caused by mixed lighting sources, and adjust your camera settings accordingly to maintain natural skin tones and vibrant colors. Using a lens with good low-light performance helps you freeze fast-moving subjects in dim environments, like dance floors or candid moments. You’ll find that balancing lighting contrast and managing color temperature guarantees your shots remain clear, well-exposed, and true to life, even when the lighting is unpredictable or challenging.
Frequently Asked Questions
How Does the Low-Light Lens Rule Apply to Smartphone Cameras?
You can apply the low-light lens rule to your smartphone camera by understanding sensor sensitivity and aperture optimization. Increase your sensor’s sensitivity (ISO) to better capture dim scenes, but watch out for noise. Additionally, choose a lens with a wider aperture (lower f-number) to let in more light. These adjustments help you shoot clearer, brighter images indoors, even with limited lighting conditions.
Can You Use the Rule for Live Streaming Indoors?
Yes, you can apply the low-light lens rule for live streaming indoors. Focus on improving your lighting techniques by adding soft, diffused light sources to brighten your scene. Adjust your camera settings, such as increasing ISO or opening the aperture, to enhance low-light performance. Keep in mind that consistent lighting helps maintain image quality, so experiment with these settings during your setup to achieve clear, professional-looking streams.
What Are the Best Lens Brands for Low-Light Indoor Shooting?
Oh, of course, because your camera’s just begging for the best brands like Sony, Canon, and Nikon—masters of aperture optimization and sensor sensitivity. They craft lenses that embrace low-light conditions with open arms, capturing every subtle nuance. These brands excel at maximizing sensor capabilities, ensuring your indoor shots are sharp and vibrant even when the lights are dim. So, trust those giants to elevate your low-light indoor game effortlessly.
Is Post-Processing Necessary After Applying the Low-Light Lens Rule?
Post-processing isn’t always necessary after applying the low-light lens rule, but it can definitely enhance your images. You might use post-processing techniques like adjusting exposure or contrast, and applying image noise reduction to improve clarity. If you notice grain or noise, noise reduction tools help smooth out the image while retaining details. Overall, a little editing can make your indoor shots look even better, but good camera settings often reduce the need.
How Does the Rule Affect Battery Life During Indoor Shooting Sessions?
This rule can turn your indoor shooting into a battery-saving superhero, drastically boosting your battery conservation and power optimization. By using a low-light lens, you’re reducing the camera’s need to work overtime, which means less drain on your battery. As a result, you can shoot longer without constantly reaching for your charger. Just remember, sticking to this rule helps your gear run smoother and keeps your creative flow uninterrupted.
Conclusion
Remember, mastering the low-light lens rule is all about patience and practice. Don’t be afraid to experiment with your settings and learn from mistakes—after all, Rome wasn’t built in a day. With the right lens, a keen eye, and a bit of persistence, you’ll turn dim indoor scenes into stunning visuals. Keep pushing your boundaries, and you’ll see your content shine brighter than ever. As they say, “Practice makes perfect.”