
To turn your digital illustrations into stickers and decals, start by choosing the right printing technique like digital or screen printing for vibrant colors and durability. Prepare your design files in software like Adobe Illustrator or Photoshop, ensuring they’re in vector format with proper dimensions, bleed areas, and CMYK colors for accurate printing. Select high-quality materials with appropriate finishes, then cut your stickers precisely using a cutting machine or by hand. If you go further, you’ll discover detailed steps to perfect your final product.
Key Takeaways
- Convert your digital illustration into a high-resolution, print-ready file using vector software like Adobe Illustrator for scalability.
- Set appropriate dimensions, include bleed areas, and use CMYK color mode to ensure accurate color reproduction for printing.
- Choose a suitable printing technique (digital or screen printing) based on quantity, finish, and durability needs.
- Prepare the file with clean outlines and proper layering to facilitate precise cutting and trimming during production.
- Select durable, skin-friendly materials and finishes (matte or gloss) to enhance the longevity and aesthetic appeal of the stickers or decals.
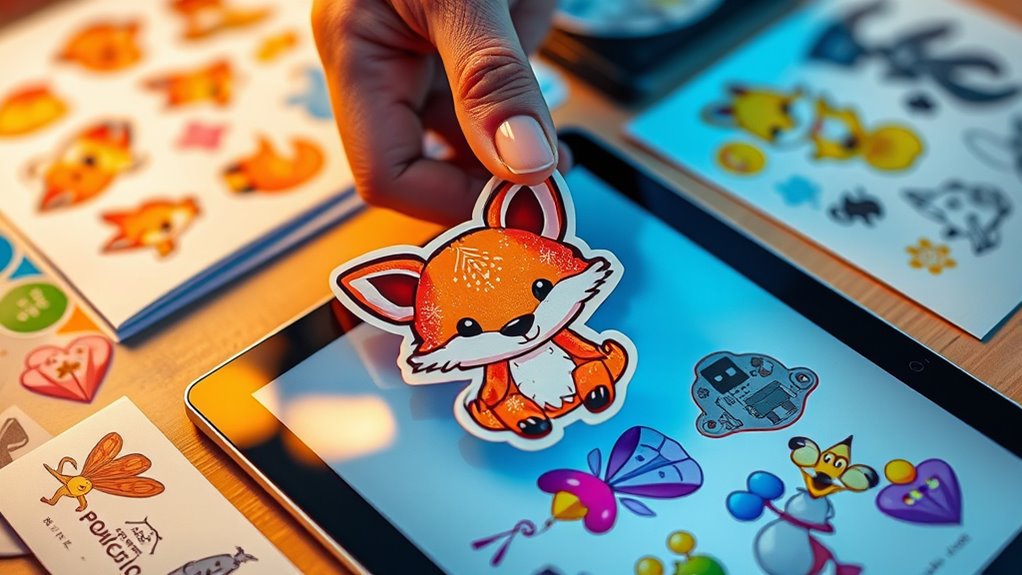
Turning digital illustrations into stickers and decals is a creative way to bring your artwork to life and share it with others. The first step involves understanding the various printing techniques available to produce high-quality, durable stickers. Depending on your needs, you might choose digital printing for vibrant colors and detailed images or screen printing for larger quantities and thicker finishes. Each printing technique offers different advantages, so knowing which one suits your project guarantees your stickers look professional and last over time. Once you’ve settled on a printing method, you’ll need to prepare your digital files correctly. This is where design software becomes essential. Programs like Adobe Illustrator or Photoshop allow you to create and refine your designs with precision, ensuring clean lines, proper color profiles, and the right resolution for printing. Using vector-based design software is often recommended because it allows your artwork to scale without losing quality, which is vital when resizing for various sticker sizes or decals. Additionally, understanding the importance of skin-friendly materials can help ensure your stickers are safe and comfortable for all users.
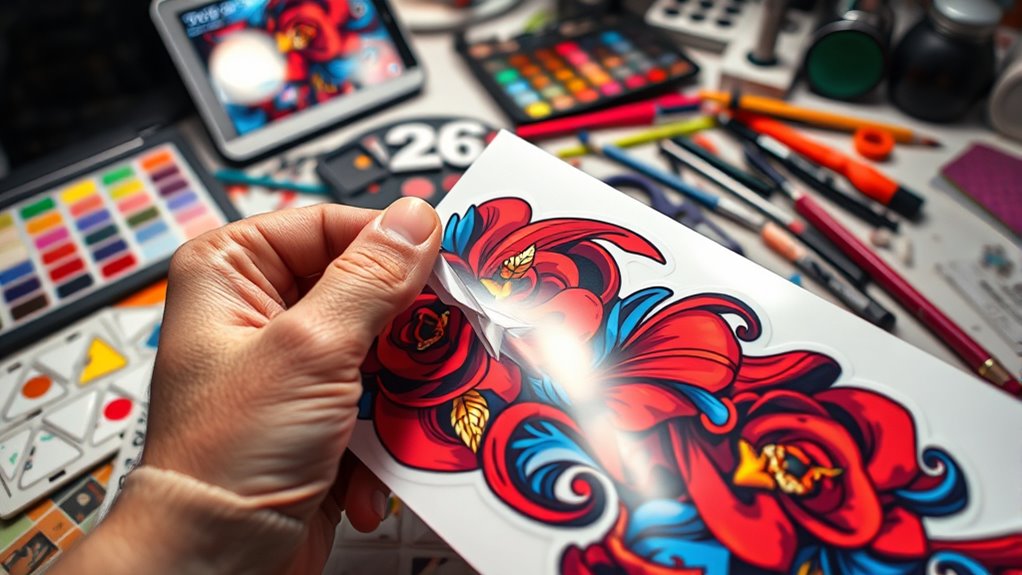
Before printing, you’ll want to set up your design with the correct dimensions and bleed areas. Bleed ensures that your artwork extends slightly beyond the cut lines, preventing any unwanted white borders after trimming. Most design software provides templates or guides for this process, making it easier to align your art perfectly. Color management is another key factor; verify your colors are in the CMYK color space if you’re printing professionally, as this matches the ink colors used during printing, resulting in more accurate color reproduction. When your design is ready, save your file in a format compatible with your printer, typically PDF, AI, or EPS, to preserve quality and layer information. Once your digital file is prepared, you can send it to a professional printing shop or use a high-quality home printer capable of handling sticker media. If you opt for a professional service, discuss your preferred printing technique, materials, and finishes—such as matte or gloss—that best suit your design. When printing is complete, you’ll need to carefully cut out your stickers or decals, either by hand or with a cutting machine like a Cricut or Silhouette, which can precisely follow your design outlines. The combination of the right printing techniques and meticulous design preparation guarantees that your digital illustrations translate into eye-catching, durable stickers and decals that stand out and last. With attention to detail and the proper tools, your artwork can become a tangible, shareable piece of art that others will appreciate.
Frequently Asked Questions
What Software Is Best for Creating Sticker-Compatible Digital Illustrations?
You should use Adobe Illustrator for creating sticker-compatible digital illustrations because it excels in vector graphics, allowing you to make scalable, crisp designs. If you prefer raster editing, Adobe Photoshop is a solid choice, offering detailed control over colors and textures. Both programs enable you to prepare your artwork with transparent backgrounds, ensuring your stickers look professional and vibrant when printed or used digitally.
How Do I Prepare My Digital Art for Printing as Stickers?
You might wonder if your digital art is ready for printing as stickers. First, make certain your design is in the correct file format—preferably PNG or SVG for clarity and transparency. Calibrate your colors to match your printer’s settings, so your stickers look vibrant. Double-check your resolution (at least 300 DPI) to avoid pixelation. These steps ensure your artwork is perfectly prepared for high-quality sticker printing.
What Are the Most Cost-Effective Methods for Producing Stickers at Home?
You can save money by doing DIY printing using a home inkjet or laser printer. Use eco-friendly materials like biodegradable sticker paper and water-based inks to keep it budget-friendly and environmentally conscious. To get professional results, invest in a good quality clear laminate to protect your stickers. Avoid expensive commercial printing, and instead, experiment with different printable materials to find what works best for your budget and needs.
How Can I Ensure My Stickers Are Durable and Weather-Resistant?
You want your stickers to withstand rain, sun, and wear, so start by choosing UV resistant materials that block harmful rays. Apply weatherproof coatings generously, like a shield over your design, to keep colors vibrant and prevent peeling. Imagine your stickers as tiny armor, standing strong against the elements. With these steps, your stickers will stay durable and eye-catching, even after months of outdoor adventures.
Are There Any Legal Considerations When Turning Digital Art Into Stickers?
Yes, you should consider legal issues when turning digital art into stickers. Make sure you have licensing agreements or copyright permissions from the original artist or rights holder. If you created the art yourself, you’re clear, but if not, acquire proper permission to avoid infringement. Always keep documentation of your permissions to protect yourself legally and ensure you’re authorized to produce and sell the stickers.
Conclusion
Creating stickers and decals from your digital illustrations is a fun way to showcase your art and personalize your space. Did you know that the sticker industry is expected to reach over $4 billion by 2025? Imagine transforming your unique designs into eye-catching decals that brighten up your belongings and spark conversations. So, go ahead, turn your digital art into tangible, shareable pieces—your creative world is just a sticker away!