
To make your talking-head videos look instantly better, choose a lens with a focal length between 50mm and 85mm on full-frame cameras. These lenses offer natural facial proportions, reduce distortion, and create beautiful background blur that keeps the focus on you. Pairing the right lens with good lighting and sound setup boosts your professionalism and engagement. Keep exploring further to discover tips that will elevate your video quality even more.
Key Takeaways
- Use a 50mm to 85mm prime lens for natural facial proportions and minimal distortion.
- Opt for a wide aperture (f/1.4–f/2.8) to create a pleasing background blur and emphasize the subject.
- Maintain a 3-6 foot distance to ensure flattering framing and good eye contact.
- Choose telephoto lenses for tight framing and background compression, enhancing focus on the subject.
- Combine the right lens with proper lighting and sound for a polished, professional-looking video.

NEEWER 2 in 1 Teleprompter 11 Inch with Monitor for Windows MacOS, Supports Screen Mirroring, Portable Prompter for Camera Mobile Phone Webcam for YouTube Twitch Live Streaming Conference, X11
Using the provided USB-C to USB-C cable, you can connect the monitor straight to your computer if it...
As an affiliate, we earn on qualifying purchases.
Why Your Lens Choice Matters for Talking-Head Videos

Choosing the right lens is essential because it directly affects how your face appears on camera. A good lens complements your lighting setup, guaranteeing your face is evenly lit without harsh shadows or glare. It also influences how your background looks, helping you stand out or blend in as needed. Proper microphone placement is equally important; a lens that keeps your face in focus ensures your voice remains clear, even if you move slightly. The right lens minimizes distortions, so your face looks natural and professional. Without careful consideration, you risk distracting distortions or poor lighting that can undermine your message. Additionally, understanding camera lens fundamentals can help you make informed choices that elevate your video quality. Ultimately, your lens choice enhances the overall quality, making your talking-head video more engaging and credible.

Elgato Prompter, Teleprompter with Built-in Screen
Built-in display, Drag-and-drop: No extra tablets or smartphone screens required; Move any window or app onto Prompter’s display,...
As an affiliate, we earn on qualifying purchases.
What Focal Length Is Best for Talking-Head Videos?
Choosing the right focal length is key to making your talking-head videos look natural and professional. Typically, an ideal range helps you maintain proper distance while creating pleasing background blur. Understanding how focal length affects your shot can make a big difference in your video’s overall quality.
Optimal Focal Length Range
The ideal focal length range for talking-head videos typically falls between 50mm and 85mm on a full-frame camera. This range offers a natural perspective without distortion, making your face appear proportionate and engaging. Using a lens within this range helps you maintain a comfortable distance from the camera, which simplifies your lighting setup and improves overall image quality. A consistent focal length guarantees your background remains slightly blurred, drawing viewers’ focus to your face. Additionally, choosing the right focal length can positively influence your audio quality, as you won’t need to get too close or too far from the microphone. Sticking within this range allows you to achieve a professional look effortlessly while keeping your setup simple and effective. Considering ethical consumer choices, selecting the right equipment can also reflect your values by prioritizing sustainable and ethically made gear. Moreover, choosing a lens with appropriate focal length can enhance your overall production quality by ensuring your videos look polished and professional. A well-chosen focal length can also help you achieve a more cinematic look, elevating the production value of your videos. For instance, selecting a lens with optimized optical design can reduce unwanted distortions and improve image clarity.
Impact on Background Blur
Focal length directly influences how your background appears in your talking-head videos. Longer lenses create a shallower background depth, making the background appear more blurred and less distracting. This enhanced background blur provides greater visual separation between you and the background, drawing viewers’ attention to your face. Using a lens in the 50mm to 85mm range typically offers ideal background blur without distortion, giving your videos a polished look. Shorter focal lengths, like 24mm or 35mm, tend to keep more of the background in focus, reducing the sense of separation. For a professional and clean appearance, choose a lens that emphasizes background blur, helping your subject stand out and making your videos instantly more engaging. Understanding how focal length affects depth of field can help you select the perfect lens for your desired look.
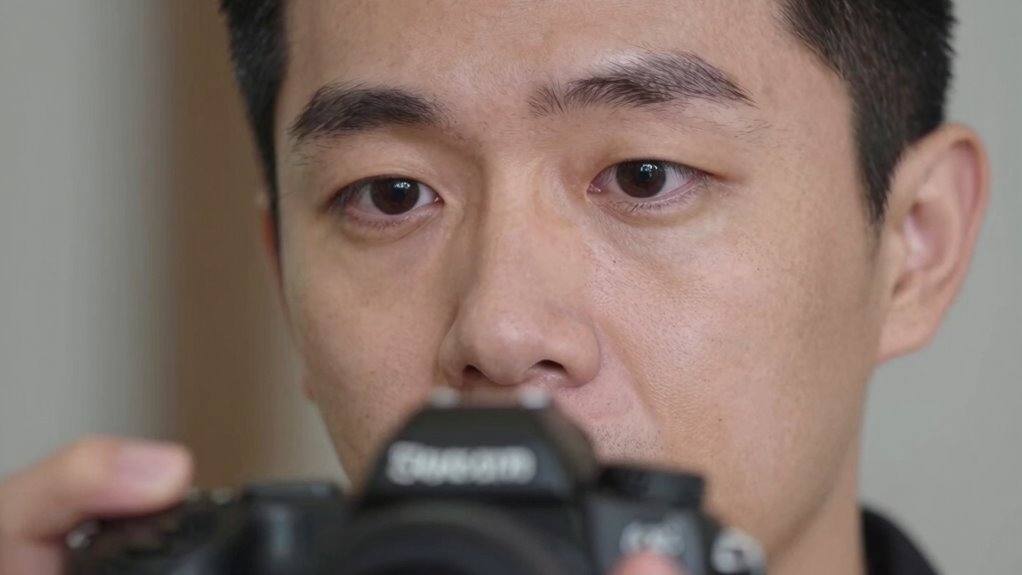
Maintaining Proper Distances
To achieve natural and professional-looking talking-head videos, maintaining the right distance between you and your camera is vital. Proper camera positioning influences the distance perception, making your video feel more engaging and less awkward. A lens with a focal length around 50mm to 85mm is ideal because it creates a flattering perspective without distortion. If you’re too close, your face may appear exaggerated or uncomfortable; too far, and viewers might feel disconnected. Keep about 3 to 6 feet between you and the camera, depending on your lens choice. This ensures your face is well-framed and your expressions are clear. Adjusting your distance based on your lens helps you maintain natural eye contact and a pleasing composition. Additionally, understanding focal length helps you select the best lens for your setup and achieve the desired visual effect.

NEEWER Basics X12B Aluminum Alloy Teleprompter 12" for iPad Tablet DSLR Camera, Bluetooth, No Assembly, Remote & App Control, Compatible with iOS Android, Black, for Streaming
【Introducing NEEWER BASICS】 Simple and practical, NEEWER BASICS is an economical product line that focuses on essential functions...
As an affiliate, we earn on qualifying purchases.
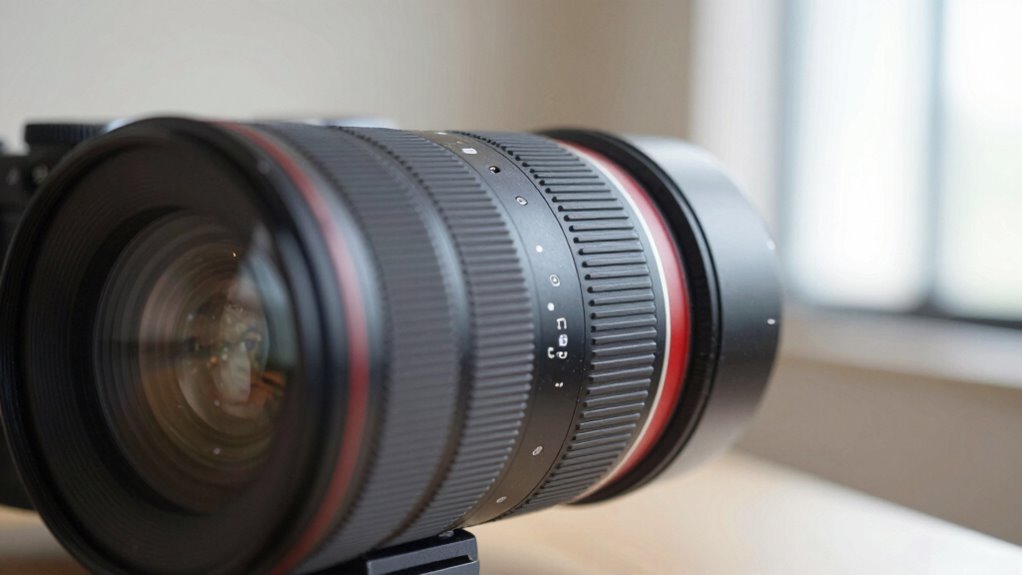
How Prime Lenses Enhance Your Video Quality Over Kit Zooms
Prime lenses deliver a sharper, more professional look compared to kit zooms, making your videos instantly more polished. Their fixed focal length produces cleaner, more crisper images with less distortion, elevating your overall video quality. This clarity allows you to focus on lighting techniques that highlight your face and background, creating a compelling visual presence. Additionally, prime lenses typically have faster apertures, helping you gather more light and improve low-light performance. Better lighting enhances both your image and audio quality, since clearer visuals reduce the need for excessive post-production. Unlike zooms, prime lenses encourage you to stay in a consistent position, making it easier to manage sound levels and microphone placement. All these factors combine to produce a more professional, engaging talking-head video. Understanding lens choices can further help you optimize your setup for the best results. For example, selecting the right lens can also be influenced by measurement tools that ensure your camera settings are perfectly calibrated for optimal clarity.

Logitech Brio 101 Full HD 1080p Webcam for Streaming and Meetings - Black
Compatible with Nintendo Switch 2’s new GameChat mode
As an affiliate, we earn on qualifying purchases.
How Lens Aperture Affects Your Face and Background Blur
Your lens aperture controls how much of your face and background is in focus, affecting the depth of field. A wider aperture blurs the background and emphasizes your face, making you stand out. Smaller apertures keep more in focus but can make your face look flat and less engaging. Adjusting the aperture also influences the overall visual appeal of your video, helping to create a more professional look. Understanding how wall surfaces and finishes affect lighting and background can further enhance the impact of your video setup. Being aware of how depth of field interacts with your environment can help you make better choices to optimize your shot. Additionally, considering aperture settings can help you achieve the desired level of background blur and focus for your specific scene.
Depth of Field Control
Aperture settings on your lens play a crucial role in controlling depth of field, which determines how much of your face and background appear sharp or blurred. A wider aperture creates a shallow depth of field, making your face stand out sharply against a softly blurred background, enhancing emotional impact. Conversely, a smaller aperture increases depth of field, keeping more of the scene in focus, which can be useful for creative storytelling when scene context matters. The choice of aperture influences how viewers connect emotionally and how the scene’s story is perceived.
Focus on the Subject
When you choose a wider lens aperture, you have the power to direct viewers’ attention straight to your face while softly blurring the background. This focus on the subject makes you stand out, creating a professional look. A wider aperture also helps improve camera stability by reducing the need for constant adjustments, making your shots smoother and more consistent. Plus, a well-focused face ensures viewers stay engaged, even if your audio quality isn’t perfect. The blurred background minimizes distractions, so your message comes through clearly. Keep in mind, though, that a wider aperture can narrow your depth of field, so maintaining sharp focus on your face is essential. This technique elevates your video quality instantly, making your talking-head videos more polished and compelling. Incorporating gear for content can further enhance your setup and overall video quality.
Which Lens Features Keep Your Facial Proportions Natural?
Choosing the right lens is essential for maintaining natural facial proportions in talking-head videos. To keep facial symmetry intact and enhance expressions naturally, opt for lenses with a focal length between 50mm and 85mm. These lenses minimize distortion, guaranteeing your features look realistic without exaggeration. Good lens features include a wide aperture for soft backgrounds and sharp facial details. Avoid wide-angle lenses that can stretch or compress facial features, disrupting natural proportions. The goal is to capture your face as the human eye perceives it, preserving authenticity and expression. Use this table to understand key lens features for natural results:
| Feature | Benefit |
|---|---|
| Focal length (50-85mm) | Preserves facial symmetry |
| Wide aperture (f/1.4-f/2.8) | Enhances expressions with soft background |
| Minimal distortion | Keeps proportions natural |
| Autofocus speed | Ensures sharp facial details |
| Good image stabilization | Maintains consistent framing |
Additionally, choosing a lens with minimal distortion helps ensure your facial features remain proportionate and natural-looking in every shot. For optimal results, selecting lenses that are known for their distortion control can further enhance the natural appearance of your videos. Understanding lens technology advancements can also help you select the best equipment for professional-looking results, especially when considering how natural-looking images are produced.
Wide-Angle vs. Telephoto Lenses: Which Is Better for Talking Heads?
Your choice of lens impacts how viewers perceive perspective and depth in your videos, influencing the overall engagement. Framing and composition also change with wide-angle or telephoto lenses, affecting how much of your environment is included and how you appear on screen. Understanding these differences helps you select the right lens to make your talking-head videos look more professional. Additionally, using a 85mm lens can help achieve a flattering background compression and a pleasing depth of field, further enhancing your video’s quality.
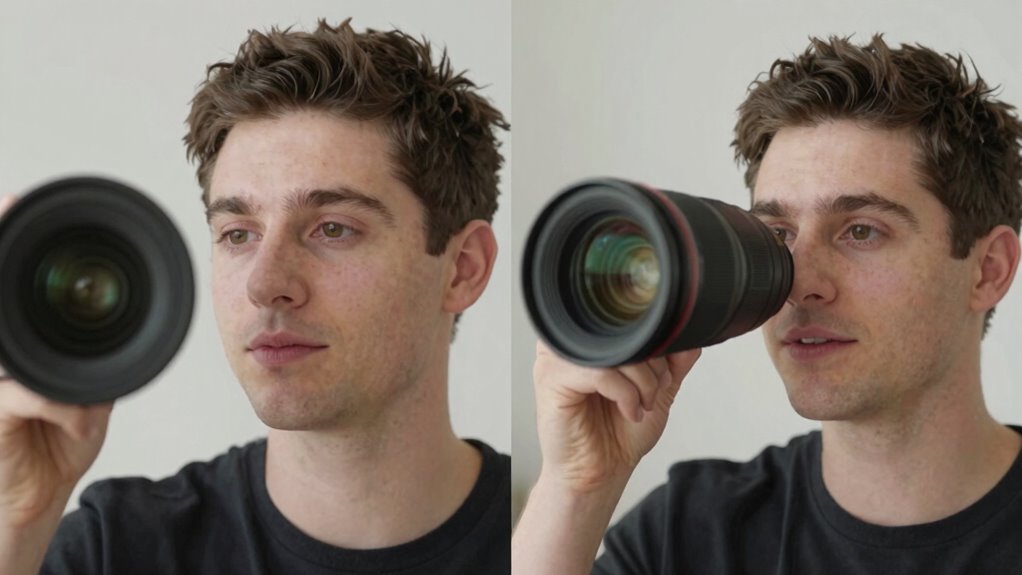
Perspective and Depth
The type of lens you select dramatically influences the perspective and depth in your talking-head videos. A wide-angle lens creates a sense of spaciousness but can distort facial features if too close, making your shot feel more dynamic but less natural. Conversely, a telephoto lens compresses depth, providing a flattering, more focused view of your face by flattening background elements. This compression enhances the sense of intimacy and makes your background appear closer. Proper lighting setups improve the overall perception of depth, highlighting the subject without flattening the scene. Plus, good audio quality ensures viewers stay engaged, as distractions from poor sound can diminish the impact of your visual perspective. Choosing the right lens helps set the tone, making your video more engaging and professional.
Framing and Composition
When it comes to framing and composition in talking-head videos, selecting the right lens can make a significant difference in how your shot feels and communicates. A wide-angle lens captures more of your environment but can distort facial features if too close, affecting lighting techniques and audio quality perception. Conversely, a telephoto lens creates a flattering, compressed look that emphasizes your face, helping viewers focus on expressions.
Consider these points:
- Use a telephoto lens for tight framing to avoid distortion and improve lighting control.
- Wide-angle lenses work better for establishing shots but may require careful lighting adjustments.
- Proper framing enhances audio quality by reducing background noise and echo.
- Lighting techniques should adapt to the lens choice to ensure even, flattering illumination.
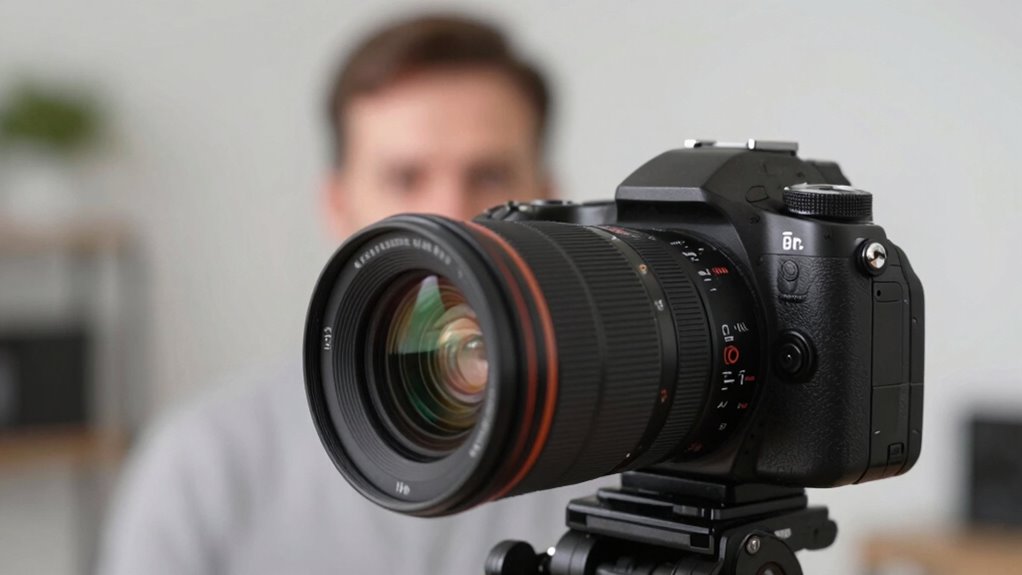
How to Set Up Your Camera for Sharp, Focused Talking-Head Shots
Achieving sharp, focused talking-head shots starts with careful camera setup. First, ensure your camera is stable; use a tripod or steady surface to prevent shake that can blur the image. Proper camera stabilization keeps your shot crisp and professional. Next, set your focus manually or use autofocus with face detection to keep your eyes sharp and clear. Adjust the aperture to create a shallow depth of field, isolating your face from the background. Don’t forget, good audio quality is vital—use an external microphone and position it close to your mouth to avoid distracting background noise. Proper camera setup enhances both the visual clarity and overall production quality, making your talking-head videos look polished and engaging.
Creating a Professional Look: Combining Good Lighting and the Right Lens
To create a professional look in your talking-head videos, you need to master both lighting and lens selection. Creative lighting helps set the mood and reduces harsh shadows, making your face appear flattering and polished. Choosing the right lens ensures your subject stands out with pleasing background separation, avoiding background clutter. Here are key tips:
Master lighting and lens choices for a polished, professional-looking talking-head video.
- Use soft, diffused lighting to create a clean, professional glow.
- Position lights at eye level to minimize unflattering shadows.
- Opt for a lens with a wide aperture (f/2.8 or lower) for depth of field.
- Keep backgrounds simple and uncluttered to emphasize your face.
Combining these elements results in a polished, engaging video that commands attention and looks instantly more professional.
Budget-Friendly Lenses That Make a Big Difference in Your Videos
Investing in the perfect lens doesn’t have to break the bank. Affordable lenses, like a 50mm f/1.8, can dramatically improve your videos without draining your budget. These lenses often require minimal lens maintenance, making them reliable for frequent use. They also enhance camera ergonomics by offering better control and sharper focus, which helps create more professional-looking talking-head videos. You don’t need expensive gear to achieve a cinematic look; just choose a lens that suits your needs and fits your budget. Keep your lenses clean and well-maintained to preserve image quality over time. With the right budget-friendly lens, you’ll notice a significant difference in your video quality, making your content look more polished and engaging without overspending. Incorporating a diverse range of urban and cultural scenes can further elevate your videos’ visual appeal and storytelling.
Common Mistakes to Avoid When Choosing a Lens for Talking-Head Videos

Choosing the right lens for talking-head videos can substantially impact the final look, but many beginners make common mistakes that hinder their results. First, avoid selecting a lens that’s too wide or too narrow, which can distort your face or create awkward framing. Second, neglect lighting tips; poor lighting can make even the best lens look flat. Third, don’t overlook sound quality—using a good microphone is just as important as choosing the right lens. Fourth, resist the urge to choose a lens solely based on aesthetics; consider how the depth of field and background blur enhance your message. Additionally, understanding market trends and how different lenses perform under various conditions can help you make more informed choices. By steering clear of these mistakes, you ensure your video’s focus remains sharp, well-lit, and professional.
Frequently Asked Questions
How Does Lens Quality Impact Video Durability and Longevity?
Lens quality impacts your video durability and longevity through high-quality lens materials that resist scratches, dust, and wear over time. Superior materials guarantee your lens stays clear and functional longer. Additionally, image stabilization helps reduce strain on the lens, preventing damage from frequent use or accidental drops. Investing in a well-made lens with durable materials and stabilization features means your videos stay sharp and your equipment lasts longer.
Can Lens Choice Influence Audio Quality in Talking-Head Videos?
Did you know poor lens choices can affect audio clarity? While lenses don’t directly influence sound, they can indirectly impact audio quality in talking-head videos. A wide or poorly chosen lens might cause background distortion or focus issues, prompting you to adjust your distance or microphone placement. These adjustments can lead to inconsistent audio clarity. So, selecting the right lens helps maintain focus and framing, enhancing both your visuals and overall sound quality.
Are There Specific Lens Brands Recommended for Beginner Videographers?
For beginner videographers, trusted brands like Canon, Sony, and Nikon offer great options. Look for lenses with focal lengths around 50mm to 85mm for flattering portraits and a wide aperture size like f/1.8 to achieve a nice background blur. These lenses are user-friendly, versatile, and affordable, helping you improve your talking-head videos without overwhelming you. Stick with these brands and specs to get professional-looking results early on.
How Does Lens Weight Affect Camera Stability During Recording?
Did you know that heavier lenses can cause up to 50% more camera shake? Lens weight directly impacts your camera stability during recording. Lightweight accessories help reduce this issue, making handheld shots smoother. When your lens is lighter, it’s easier to maintain steady footage without extra gear. For better stability, choose lightweight lenses or add stabilizers, ensuring your recordings stay crisp and professional even during dynamic shots.
Is It Better to Rent or Buy Specialized Lenses for Occasional Videos?
It’s usually better to rent specialized lenses for occasional videos, especially considering lens compatibility and budget. Renting allows you to access high-quality gear without a hefty investment, and you can choose lenses that suit your project needs. If you find yourself needing a specific lens multiple times, buying might make sense, but for sporadic use, renting maintains costs down and guarantees you get the perfect lens for each shoot.
Conclusion
So, next time you grab your camera, remember that choosing the right lens isn’t just about aesthetics — it’s about convincing your audience you’re worth their time. Skip the basics, and your videos might look like they were shot in a closet with a flashlight. Invest in the right lens, master lighting, and maybe, just maybe, you’ll finally look as professional as you *think* you are. Or at least, you’ll look better than your phone’s selfie mode.